 So, I’ve finally finished my great sounding new studio. Now what? It’s time for calibrating my ears to the new room. I did this periodically in my old space, particularly after changes in equipment and any upgrades to the structure or sound treatment. And maybe most importantly, before beginning the mixing of any new album.
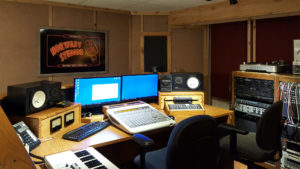
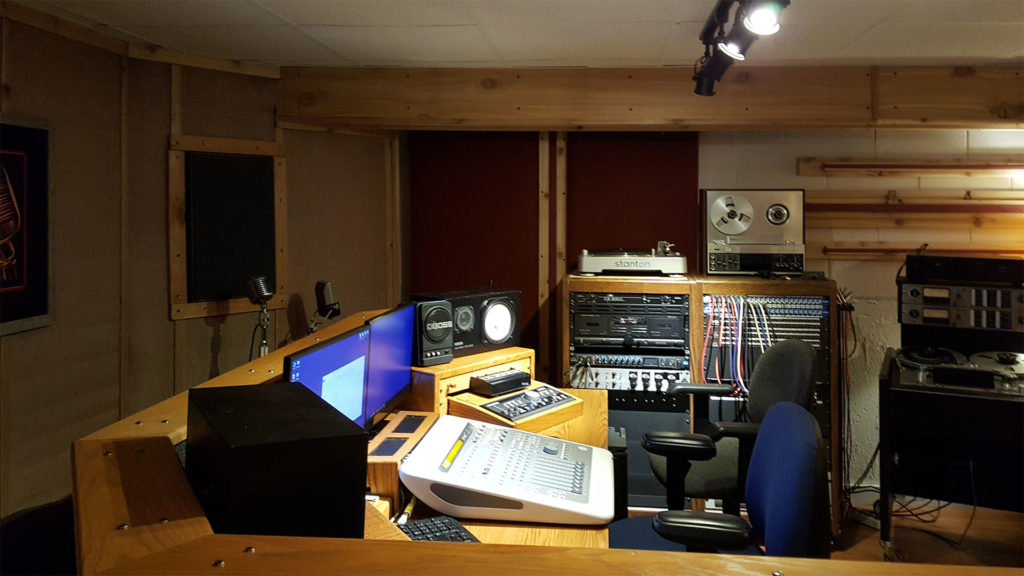
Every control room sounds different. Even the best studios with the best speakers sound different from one another. They have different speakers and speaker placements, different designs, different amplifiers and different equipment and furniture bouncing the sound around in the room. This difference will be even more apparent for non-professionally designed and sub-optimally constructed home and small studios.
I am assuming that you have been listening as you put your room together and corrected any major problems during the construction process.
Part of the process is knowing how well-recorded and mixed albums sound in your room. In a new space, it’s also about listening for any problems in acoustical design or the monitoring system and any quirks or deficiencies in the sound. Plan on spending a lot of time listening to music in any new control room or on any new set of speakers. I am talking about maybe 4 to 5 hours per week for a couple of months. Most of this time needs to be active listening, not background music. Listen to each instrument in the mix and how it sounds. Listen to the 3D field of the mix, where is each instrument placed and what the perception of the performance space is.
The playlist is important because listening to poorly mixed music is going to falsely calibrate your ears and lead you to bad sounding mixes. You’ll want to listen to music in the genre’s that you usually work in, and search for albums in that genre that are noted for their outstanding engineering and sound. A little bit of Internet research should help you formulate a list.
And it should go without saying that you should not be listening to any MP3 or otherwise compressed files. Listen to CDs or at least 16bit .wav files recorded at 44.1 kHz or higher. Compressed files sound fine for casual listening, but not for critical listening. Save them for when you are in the car or out jogging.
You should also listen to some of your favorite music as long is it is of good quality and again no compressed files. The last items on the list should be good quality music that you have produced in the past, assuming you are not just starting out.
Then start listening. Get it into your head how a well-mixed piece sounds in your room. Stand up, lean forward and back, move sideways in either direction. Is the sound consistent? Or is there a “sweet spot” you need to be in to hear correctly? Put on a track with a lot of bass and walk around the room. Listen for spots where the bass goes away or gets very boomy. If it’s a problem, you maybe need to add some bass traps in the corners of the room. At least you can have your clients avoid standing in those places when you are mixing, so they do not hear false bass.
Listen to a recording where you know that the vocalist is centered, sit in your mixing position and close your eyes and make sure the vocalist is in the center. If the vocalist is off center, you may have a problem with symmetry in the room, or maybe the gain on one channel of the amplifier needs to go up or down a dB or two. Make sure the connections from the output of your workstation, to the monitor mixer if you have one, and to the amp are good. Make sure the switches in the monitor mixer are making good contact. On my Mackie BigKnob, I have a switch that occasionally goes flaky and upsets the channel balance. I flick it about 20 times, and it’s fine for a few months again.
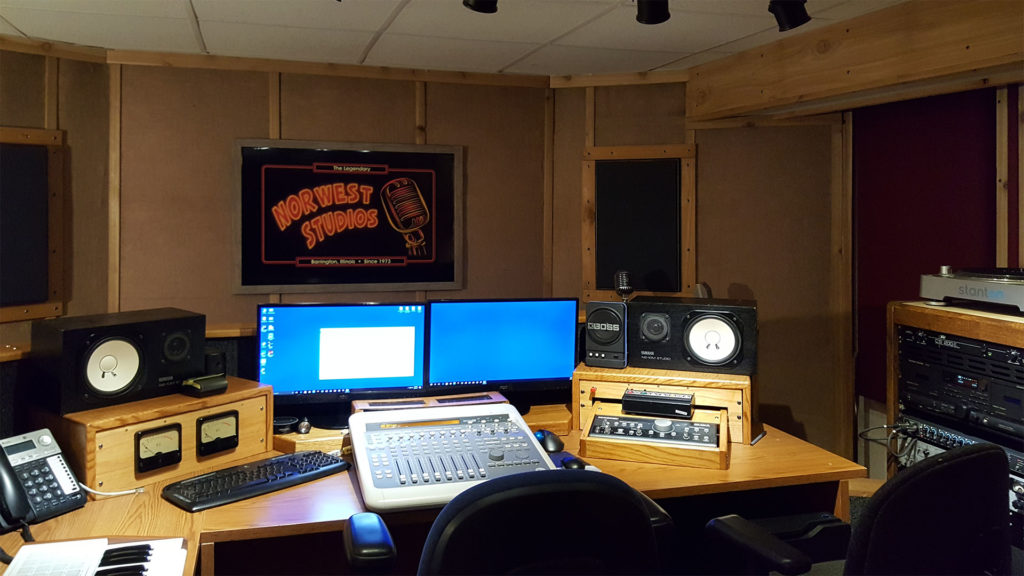
If you have more than one set of monitors, do it with each set. In addition to my main monitors, which are JBL L100s, we have a set of NS-10 near field monitors, and I run these checks on both sets, though I do most of my listening on the L100s. After listening consistently for a few days you’ll get an idea of what well-mixed music should sound like in your room, you’ll also know if there are any serious deficiencies in the space or monitors that need fixing.
After a week or so of listening in my new room, I thought I had occasionally been hearing some brittleness in the sound. I finally decided that the problem was the tweeter in the left L100 which I replaced. The brittleness went away. The L100s have adjustments for volume to the tweeter and the midrange speaker. At this time, after a few weeks of listening, I made some minor changes to these settings for what I thought was the most balanced sound in the room.
For my regular checks, I have 6 or 7 songs in a file that I use for listening tests. They are a variety of styles and arrangements that let me evaluate my monitor system. I’ll do a listening test every few months just to make sure the system is working properly, checking for distortion, stereo imaging and any other problems that might pop up. I also spend a half hour or so listening before mixing a new project. I listen to the songs I use for testing plus some of the artist’s recordings. I may also listen to the recordings of other artists when my client tells me, “I want my songs to sound like Artist X’s new album.” That sometimes helps with the mixing.
Knowing what a good mix sounds like in your listening space helps you become a better engineer and produce a better product.
A couple of other tips on mixing and listening. During a long mixing session, there will be a point where everything sounds terrible no matter what you. This is the time to stop and resume again tomorrow with a set of fresh ears. When listening fatigue sets in, you are not going to be happy with your mix, so it is best just to stop.
When you have finished a mix, let it sit for a couple of days and then listen to it again and make sure you are still happy with the final product. Listen to it in the car and a couple of other home systems to make sure it sounds good there also.

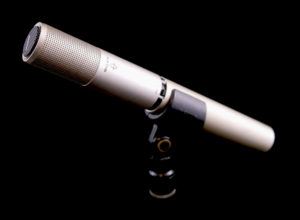
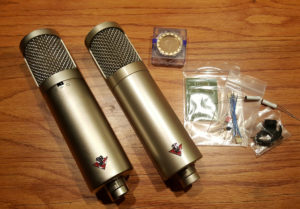 It’s amazing the number of small manufacturers creating great microphones. It’s good to have a “palette” of different sounding microphones to record with, and the large number of companies building quality microphones and providing modification kits and services makes it easier to build a diverse microphone collection.
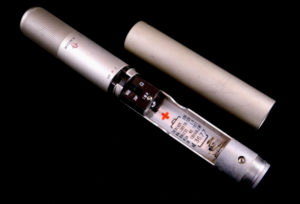
 I’m starting to organize some of the stuff I brought from the old studio and found this old Shure Model 556B “Fatboy” microphone that I bought at a flea-market, probably about 15 years ago.
  I was aware of the possibility that I would occasionally have a problem with recording due to external noise that was beyond my control. It could be a lawnmower, chainsaw or any of a variety of outdoor tools and appliances, and it could happen at any time. I hadn’t had an opportunity to gauge the amount of threat that existed. Until last week.