↓
 

StudioMicZone

Microphones and Recording Techniques for Small and Home Studios.

Studio Mic Zone - Microphone and recording techniques for small and home studios.
  • Home
  • Terms of Use
  • Privacy
  • Contact Us
  • About StudioMicZone
  • About the Blogger

Category Archives: Studio Construction

Information on studio and control room construction and acoustical treatment.

Post navigation

← Older posts

Acoustical Insulation and Acoustical Treatment

StudioMicZone
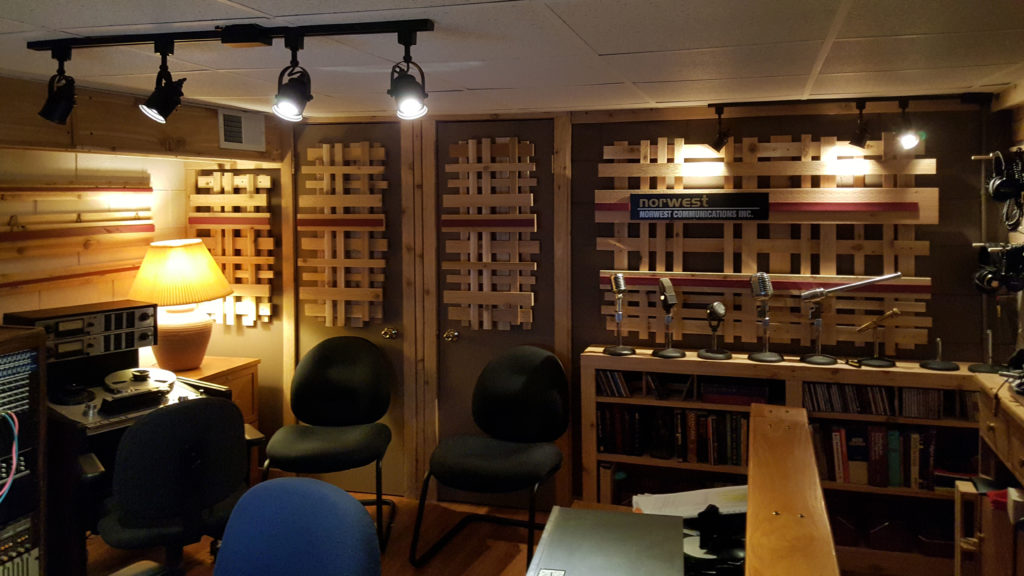
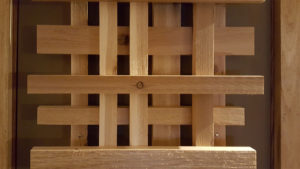
Diffusion on the back wall of my control room.

When building a home studio, it is imperative to understand the difference between acoustical isolation and acoustical treatment.

Acoustical isolation keeps sound from coming into your space and going out of your space. It enables you to record when your neighbor is mowing the lawn and keeps your drumming from keeping your neighbor awake at night. Acoustical treatment controls the reverberation in your room. It evens out the frequency response of the room and minimizes resonances.  The means of achieving these objectives are very different.

Acoustical isolation requires heavy materials. It also requires sealing of air passages between your room and the areas outside of it. It requires special treatment of any air ducts. Often it involves building a room-within-a-room with an airspace between them. At the minimum, it involves poured concrete or concrete block construction or multiple layers of drywall. It might require double doors and, at minimum, a solid door that is airtight. Putting foam, carpeting, or absorptive materials on the walls does little if anything for isolation.

You apply acoustical treatment inside of the room to minimize and control reflections, absorb a certain amount of sound, and diffuse the rest. Some techniques are non-parallel walls, absorptive wall and ceiling treatments, and diffusers on the walls to minimize resonant reflections between walls. You might also need bass traps in the corners to even out low frequencies.

Isolation is usually more expensive than sound treatment because it involves the basic construction of the room and sometimes the expensive installation of specialized heating and cooling systems. You may need to engage an architect and contractor to construct an isolated room properly.

Acoustical treatment can be done less expensively and make most rooms usable for recording and listening with some constraints.

Studio construction is both an art and a science. Quiet studios can be costly in noisy locations. There are books on the subject, and several manufacturers make kits that you can install to improve the sound of your space.

Posted in Studio Construction

Even The Jackals Album Finished

StudioMicZone
Even the Jackals new album, Sink or Float

Almost a year in progress, the Even the Jackals album, Sink Or Float, was finished this week and released at the House of Blues in Chicago on September 28. Congratulations to Danielle, Bill, Seth and Tommy on a job well done. This album was the ultimate test of the new studio and the new space performed beyond all expectations. It was a long project and worth every minute of time that we put into it. It also makes me happy to know that every minute of construction put into the new studio paid off well, also.

Even the Jackals at House of Blues September 28, 2017

I am amazed at what can be accomplished in a home studio in a somewhat non-ideal space. I learned a lot in both the studio construction and in the production and recording of this album. thanks to the Jackals for having faith in me and for being part of this new adventure.

I’ll be sharing some of this knowledge in future blog posts. The opportunities for home recording are endless. Learn your craft and keep producing!

Posted in Miking Techniques and Recording, Other, Studio Construction

Loving Light

StudioMicZone

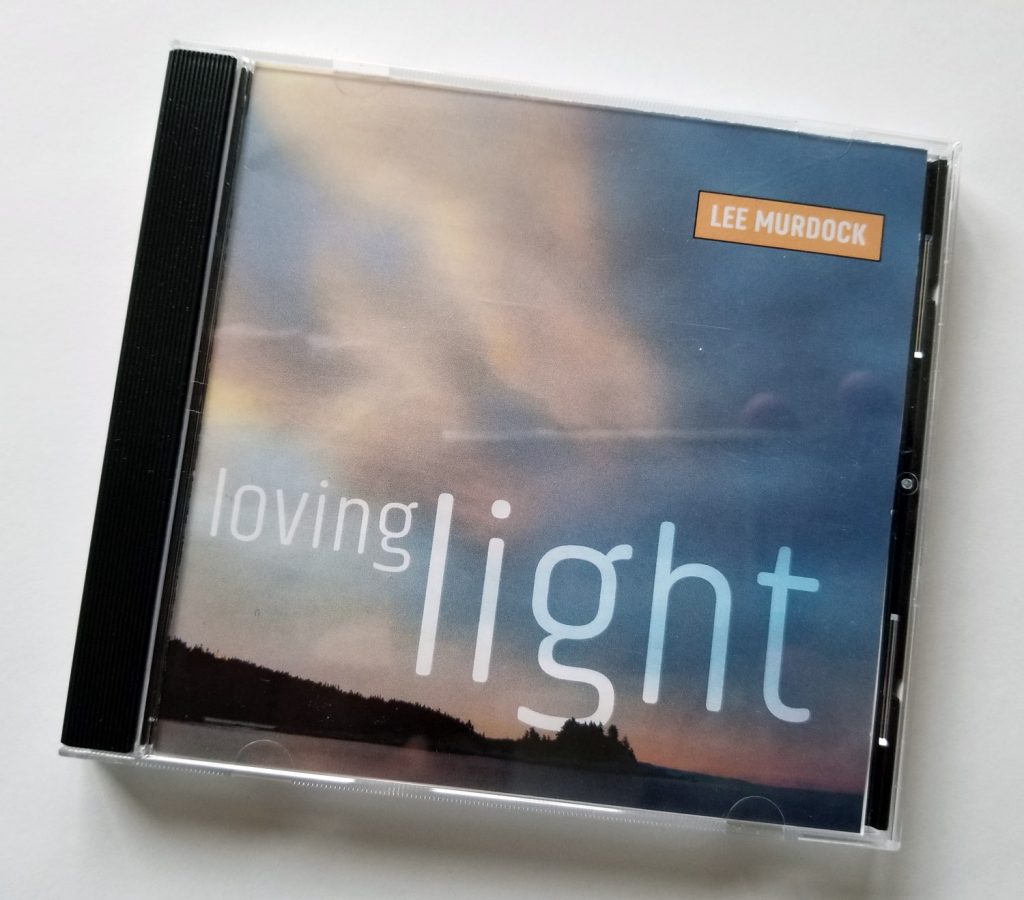
The first start-to-finish project in the new studio was Lee Murdock’s 20th album Loving Light. One of the reasons that I decided to build a studio at home was to be able to continue to work on his projects. Since he had provided much of the carpentry skills for my other studio and was providing much of the planning and carpentry skills on the new space we made sure that the new space would meet the needs of his album production. We were not disappointed with how well the process went for Loving Light.

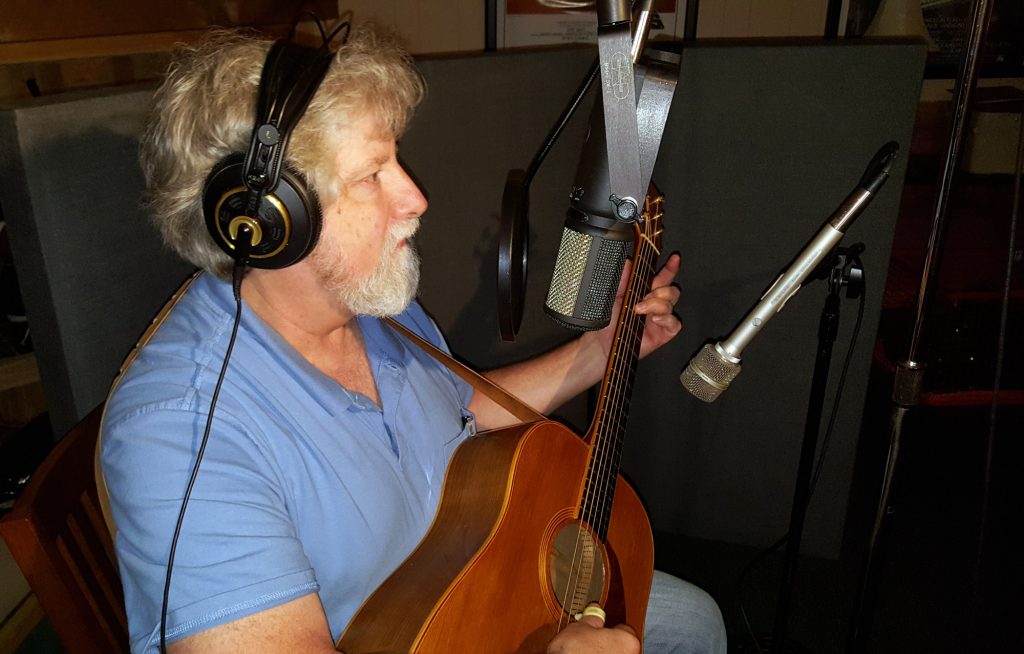
We followed our usual process of recording. Lee singing into an Equitek E200 while playing guitar and miking the guitar with a pair of Shure SM-81s, one above the 12th fret and the other below the soundhole and near the bottom outside edge of the guitar. We don’t use a click track. We will usually record the bass and possibly another backing instrument at the same time. Drums are overdubbed, as are additional instruments and background vocals and any percussion.

Lee Murdock during Loving Light session.

Lee and I work together on the mix. We use light EQ and compression as necessary. Sometimes there will be minor editing and punch-ins if necessary. Since Lee sings and plays at the same time, which is an important part of his “sound,” he will need to both sing and play for any guitar or vocal fixes. We use two or three different reverbs as necessary. Lee’s trademark sound is clean and unprocessed, so we don’t add any distortion or analog processing.

Since we have worked together on the mixes and listened to them on multiple sets of speakers as the mixes are finalized, mastering is simple. Sound Forge is my mastering tool. I clean up the head-end of the song and do the final fade on the ending. Then I will do usually between 3 dB and 6 dB of peak limiting using the Wave Hammer plug-in with compression turned off. I set the amount by visually looking at the peaks. I have learned this from years of experience and do just enough so that the effect is not audible. Then I load the album into CD Architect and set the song order and spacing. Then I balance the levels of the songs by matching the vocal levels. At this point, we are rarely making more than 1 dB to 2 dB adjustment to the song levels. Then I add the CD text to the file and burn a couple of CDs. We both give them a listen in the car, and on home systems. I’ll make any minor changes after that and burn the final masters.

We are both extremely happy with the final album and how well the process went. The album will be released in November. Available at leemurdock.com.

Posted in Miking Techniques and Recording, Other, Studio Construction

External Noise Evaluation

StudioMicZone

I was aware of the possibility that I would occasionally have a problem with recording due to external noise that was beyond my control. It could be a lawnmower, chainsaw or any of a variety of outdoor tools and appliances, and it could happen at any time. I hadn’t had an opportunity to gauge the amount of threat that existed. Until last week.

There were several large maples and a pear tree that were shading my garden so much that I soon wouldn’t have enough sunlight to grow vegetables, so I contracted to have the trees removed. The crew worked quickly and efficiently and once enough of the trees were down, it was time to grind up the branches.

They parked the large chipper in my driveway, which put it 15-20 feet from my basement control room. If you have never been near an operating wood chipper, they are one of the loudest mechanical devices you will ever encounter. This machine would be the ultimate test of sound isolation for my new studio.

Once the engine was going and they were grinding branches and limbs on a continuous basis, I headed for the basement. I sat in the control room with the chipper less than 20 feet away, and although audible, it would not have been disruptive to a recording or mixing session.

I went out to the studio and listened. If I listened really hard, it was just barely audible. I can’t think of any close-miking situation where the sound would have gotten into the recording. That was excellent news! I was convinced that no matter what is going on outside, recording or mixing wouldn’t be disturbed. After this, if any outdoor sounds disrupt a recording session, I know that I probably have a lot bigger problems than an interrupted session.

Posted in Miking Techniques and Recording, Monitoring and Listening, Studio Construction

Testing the Recording Space

StudioMicZone
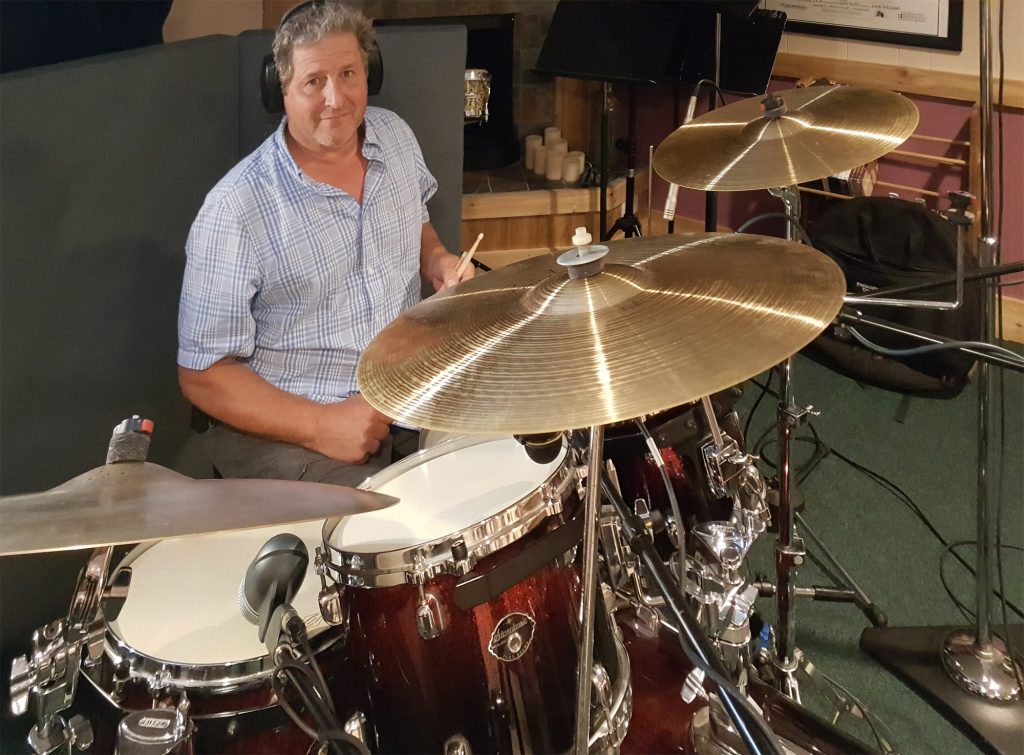
Randy, all ready to play.

When I decided to move my studio home, I knew that I would be facing many compromises, the largest being that I would only be able to record a few musicians. I thought that drums might be a bit iffy and that any choir recording would be out. Nevertheless, Gary had a couple of projects in the works, one for Rory cooney and another for Tony Alonzo, so we decided to push the limits and see what we could get away with in my rec room.

The first gig was drums. Randy Carpenter came up from Louisianna to play drums on the album. We set up the drums and miked the set and just using the two overheads and the kick mike, an Audix D6, got a really nice sound. We miked the rest of the set and were extremely happy with what we heard. 

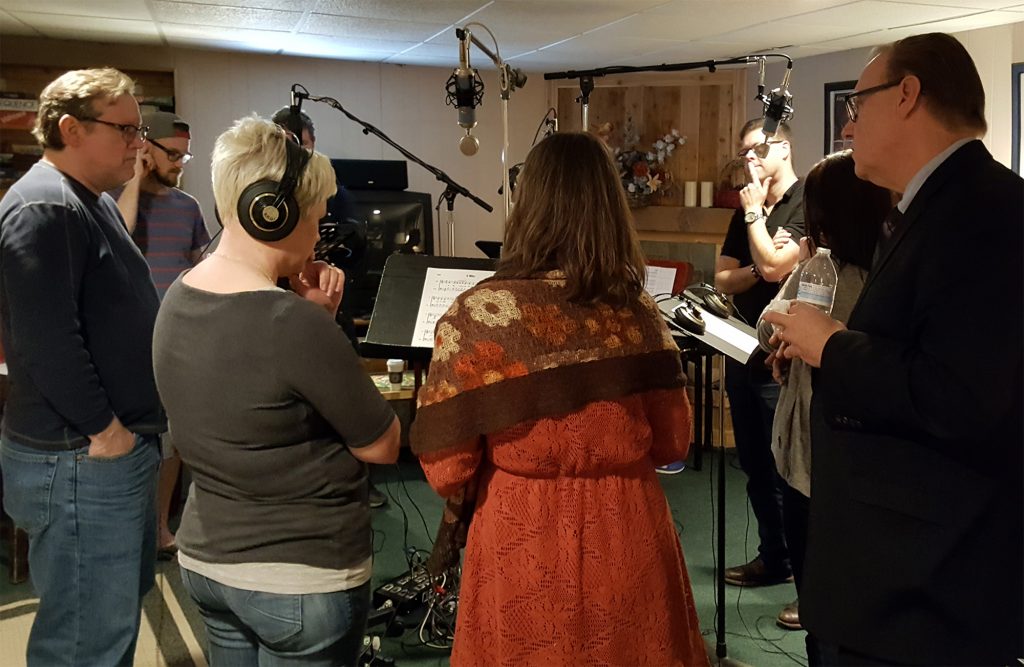
Looking over the music before the session.

A few days later we recorded the choir tracks for several albums. We have a 12 voice SATB choir. We gathered them around the four microphones, one for each section. We tried a couple of tracks and I was ecstatic. The sound was clean and uncluttered. There was sufficient separation between the microphones and everyone loved working in this space. They all thought they could hear better and all thought it was more comfortable to work in as compared to the old space. The parking was a lot better also!

So we are happy. The studio will be much more useful than I could have hoped for. I’ll still plan on doing some more tweaking with the sound treatment and with the arrangement of the room, but it is workable as it is.

Posted in Miking Techniques and Recording, Studio Construction

Evaluation – Calibrating Your Ears & Checking Your Monitoring

StudioMicZone

So, I’ve finally finished my great sounding new studio. Now what?  It’s time for calibrating my ears to the new room. I did this periodically in my old space, particularly after changes in equipment and any upgrades to the structure or sound treatment. And maybe most importantly, before beginning the mixing of any new album.

Every control room sounds different. Even the best studios with the best speakers sound different from one another. They have different speakers and speaker placements, different designs, different amplifiers and different equipment and furniture bouncing the sound around in the room. This difference will be even more apparent for non-professionally designed and sub-optimally constructed home and small studios.

I am assuming that you have been listening as you put your room together and corrected any major problems during the construction process.

Part of the process is knowing how well-recorded and mixed albums sound in your room. In a new space, it’s also about listening for any problems in acoustical design or the monitoring system and any quirks or deficiencies in the sound. Plan on spending a lot of time listening to music in any new control room or on any new set of speakers. I am talking about maybe 4 to 5 hours per week for a couple of months. Most of this time needs to be active listening, not background music. Listen to each instrument in the mix and how it sounds. Listen to the 3D field of the mix, where is each instrument placed and what the perception of the performance space is.

The playlist is important because listening to poorly mixed music is going to falsely calibrate your ears and lead you to bad sounding mixes. You’ll want to listen to music in the genre’s that you usually work in, and search for albums in that genre that are noted for their outstanding engineering and sound. A little bit of Internet research should help you formulate a list.

And it should go without saying that you should not be listening to any MP3 or otherwise compressed files. Listen to CDs or at least 16bit .wav files recorded at 44.1 kHz or higher. Compressed files sound fine for casual listening, but not for critical listening. Save them for when you are in the car or out jogging.

You should also listen to some of your favorite music as long is it is of good quality and again no compressed files. The last items on the list should be good quality music that you have produced in the past, assuming you are not just starting out.

Then start listening. Get it into your head how a well-mixed piece sounds in your room. Stand up, lean forward and back, move sideways in either direction. Is the sound consistent? Or is there a “sweet spot” you need to be in to hear correctly? Put on a track with a lot of bass and walk around the room. Listen for spots where the bass goes away or gets very boomy. If it’s a problem, you maybe need to add some bass traps in the corners of the room. At least you can have your clients avoid standing in those places when you are mixing, so they do not hear false bass.

Listen to a recording where you know that the vocalist is centered, sit in your mixing position and close your eyes and make sure the vocalist is in the center. If the vocalist is off center, you may have a problem with symmetry in the room, or maybe the gain on one channel of the amplifier needs to go up or down a dB or two. Make sure the connections from the output of your workstation, to the monitor mixer if you have one, and to the amp are good. Make sure the switches in the monitor mixer are making good contact. On my Mackie BigKnob, I have a switch that occasionally goes flaky and upsets the channel balance. I flick it about 20 times, and it’s fine for a few months again.

If you have more than one set of monitors, do it with each set. In addition to my main monitors, which are JBL L100s, we have a set of NS-10 near field monitors, and I run these checks on both sets, though I do most of my listening on the L100s. After listening consistently for a few days you’ll get an idea of what well-mixed music should sound like in your room, you’ll also know if there are any serious deficiencies in the space or monitors that need fixing.

After a week or so of listening in my new room, I thought I had occasionally been hearing some brittleness in the sound. I finally decided that the problem was the tweeter in the left L100 which I replaced. The brittleness went away. The L100s have adjustments for volume to the tweeter and the midrange speaker. At this time, after a few weeks of listening, I made some minor changes to these settings for what I thought was the most balanced sound in the room.

For my regular checks, I have 6 or 7 songs in a file that I use for listening tests. They are a variety of styles and arrangements that let me evaluate my monitor system. I’ll do a listening test every few months just to make sure the system is working properly, checking for distortion, stereo imaging and any other problems that might pop up. I also spend a half hour or so listening before mixing a new project. I listen to the songs I use for testing plus some of the artist’s recordings. I may also listen to the recordings of other artists when my client tells me, “I want my songs to sound like Artist X’s new album.” That sometimes helps with the mixing.

Knowing what a good mix sounds like in your listening space helps you become a better engineer and produce a better product.

A couple of other tips on mixing and listening. During a long mixing session, there will be a point where everything sounds terrible no matter what you. This is the time to stop and resume again tomorrow with a set of fresh ears. When listening fatigue sets in, you are not going to be happy with your mix, so it is best just to stop.

When you have finished a mix, let it sit for a couple of days and then listen to it again and make sure you are still happy with the final product. Listen to it in the car and a couple of other home systems to make sure it sounds good there also.
Posted in Mixing, Monitoring and Listening, Studio Construction | Tagged DIY Studio, Home Studio, Mixing, Monitoring, Studio Construction

Home Studio (Part 8 of 8) – Finishing Up

StudioMicZone

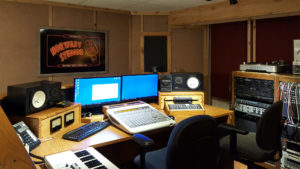
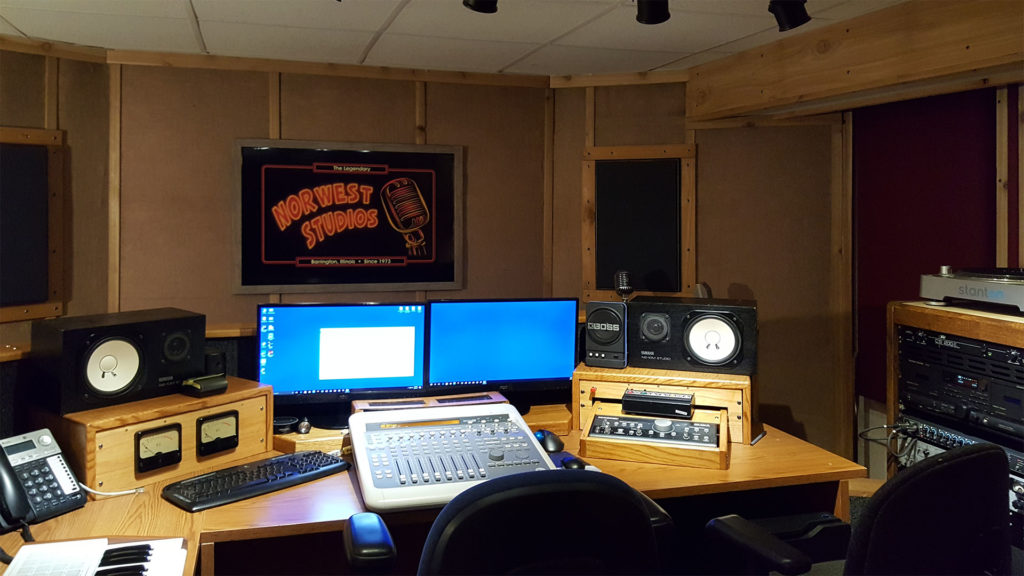
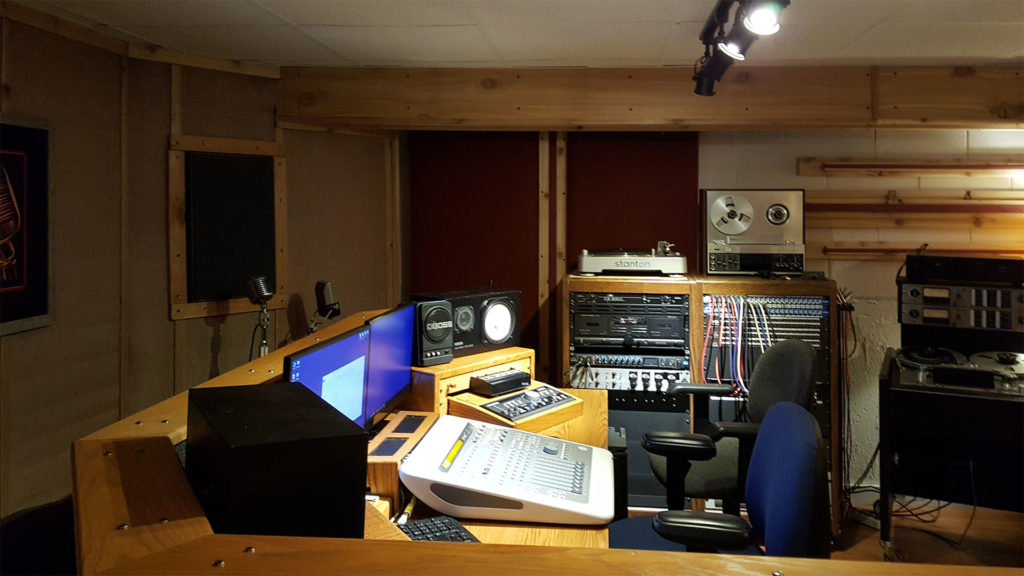
Control Room Front View

Control Room Front View

It’s time to finish up a few leftover tasks in the room and upgrade the equipment and software to the latest.

The computer we were running for audio was an old Windows XP machine, and I was running ProTools 7.5. I wanted to upgrade to Windows 10, and the ProTools 11.  This old machine just wouldn’t cut it anymore, so I built a new machine that was almost identical to my video editing machine. It has an Intel i7 Haswell 6-core processor, 16 Gigabytes of RAM and an SSD drive for the C drive. The computer is built into an NZXT cabinet, which is acoustically insulated and about as quiet as possible. I installed four, 4-Terabyte hard drives for storage and backup.

I installed Windows 8, and then 10 when it became available shortly after that, and subscribed to ProTools so that we always have the latest version. The upgrade went smoothly, ProTools integrated easily with the Digi 003 and rarely crashes anymore.

I spend a lot of time listening to different material, both my own recordings and commercial recordings that have a reputation for being well-recorded. The JBL speakers have adjustments for the midrange speaker and the tweeter, over the past few weeks I have adjusted those for the most balanced sound. I was still noticing an occasional brittleness in some of the sound and wound up replacing the tweeter in one of the speakers. I had replaced the one in the other speaker a few years back.  I think I am now satisfied that the speakers and everything in the sound chain are working correctly. We’ll discuss this listening process in detail in a future post.

I built a set of shelves under the diffuser at the back of the room to hold microphones and other odds and ends. Our old microphone collection is displayed on the top of it.

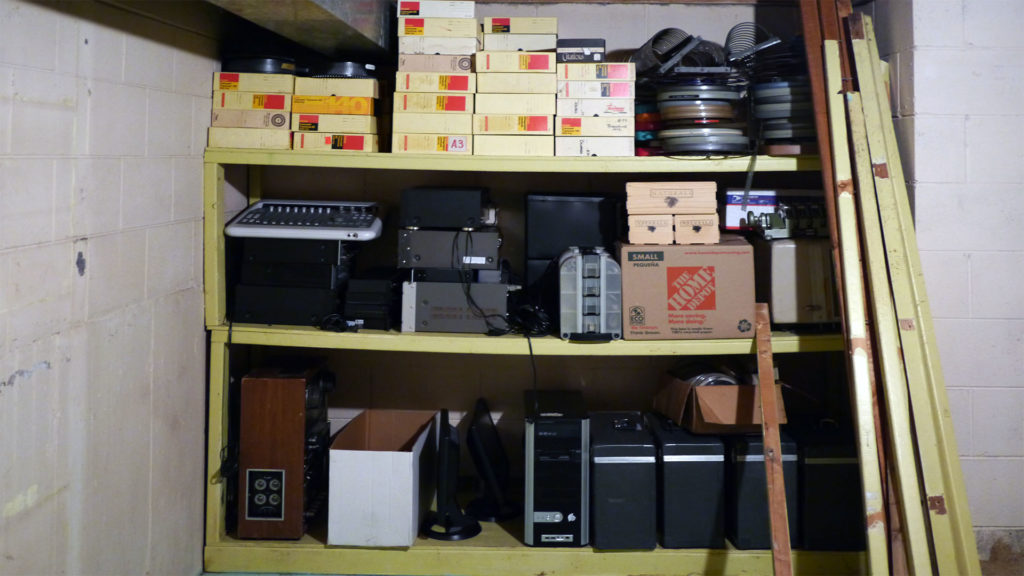
There was a final bit of decorating to do; I added the Norwest sign to the back diffuser, added some dark red accent strips to all of the diffusers, matching the color of the ATS panels.  I also built a cable cover that covered the wires coming to the rack between the two ATS absorption panels. I added a couple of VU meters, mostly for looks, to the panel to the left of the Digi 003 and build an oak frame to hold the Mackie BigKnob. There was probably a bunch of other trim items and painting done at this point.

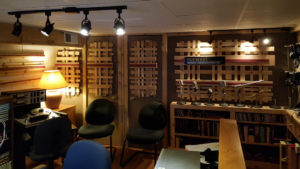
Control room, rear view.

Control room, rear view.

Finally, without a window, the front wall looked a bit empty, so I designed a Norwest Studios sign for the front wall and had it printed by Office Max and then glued to foam core. I was worried that it might affect the sound, but it didn’t since the foam core is quite dead and absorptive.

I am extremely pleased with the sound of the room. The stereo imaging and sound are good no matter where you sit. This room is considerably better that the control room at my old studio. It’s also a lot more comfortable.

A home studio is probably not a good fit if you are working with whoever comes in off the street. But, if you are doing your own recordings, or working with a select list of clients that you have known for a while, this is a very comfortable situation both for you and the people you are recording. Also, a relaxed, comfortable environment encourages a good performance and creativity and produces a better end product.

It’s been a long road, and the project took longer than I had planned, but it has certainly been worth the effort. I am ecstatic with the results that we achieved and don’t miss my old space in the least bit.

Before and After Pictures

Front Wall

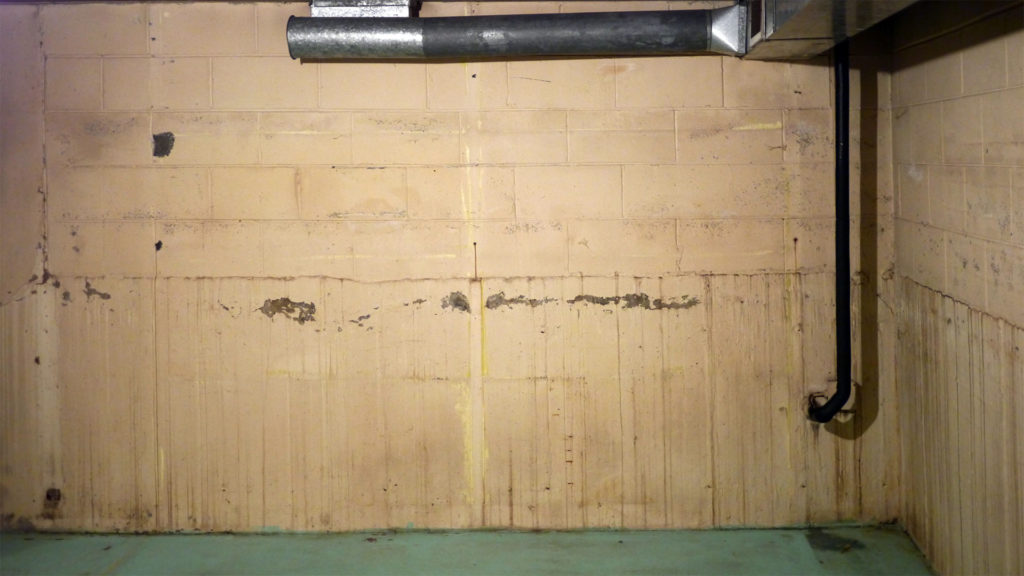
Before - Front Wall

Before – Front Wall

After - Front Wall

After – Front Wall


Back Wall and Closet

Before – Back Wall & Closet

After – Back Wall & Closet


Side View

Before - Side View

Before – Side View

After - Side View

After – Side View

Posted in Other, Studio Construction | Tagged DIY Studio, Home Studio, Studio Construction

Home Studio (Part 7 of 8) – Thoughts On the Recording Space

StudioMicZone

Most of my effort has been spent building a new control room, and the plan has been to do limited recording in my rec room. There was just not the budget or space to construct a dedicated recording space. My initial though was that the room was quiet enough and acoustically agreeable for a close-miked recording of one or two people.

So, the only thing we really did was to do a bit or re-arranging of the furniture, and run a 12 channel mike snake into the room and run lines for headphone monitoring using an existing Q-Mix box.

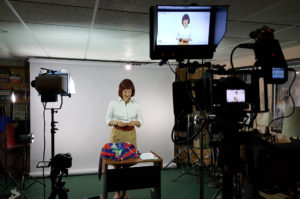
Shooting a segment for The Style Academy with Noelle Cellini.

Shooting a segment for The Style Academy with Noelle Cellini.

Also, since I still do some video production, the room needed to stay adaptable for an occasional video shoot using a nine-foot paper background. We did our first video shoot in the space during the early stages of Control Room construction, and this gave me some insight into the sound of the room.

I shot a series of videos for Noelle Cellini of The Style Academy at my previous studio and continue to do that here in my new space. Noelle’s videos are focused on how to dress, and since she may wear several different outfits in the course of a video plus demonstrate accessories like scarves and necklaces, using a lavalier microphone would present a lot of problems. I typically use a RØDE NTG2 shotgun mike placed above and to her left or right, 3 to 4 feet away. I can hear a bit of room sound, but the recording is acceptable. There is just a little more room sound than the old studio, so I was encouraged that this space would work for music recording.

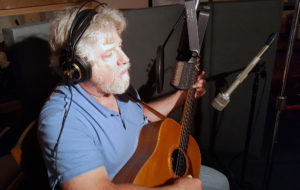
Recording with Lee Murdock

Recording with Lee Murdock

The first real recording test was with Lee Murdock. We didn’t have a lot of time, but I set him up as I usually do, seated, with two Shure SM-81 microphones on the guitar, one right above where the neck joins the body and a second one on the bottom of the guitar body opposite the neck. Then I set up a CAD Equitek E200 for his voice. We recorded a couple of songs, and the results were good with no noticeable coloration of the sound. It’s what I expected, but it was good to verify it. We were both happy since Lee has an album project to record next year.

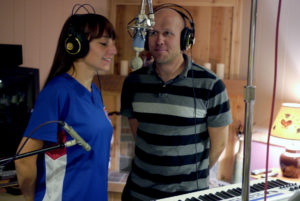
Then with the Control Room partially complete, I started a project with Danielle and Bill from The Crickets Duo. We recorded Vocals, keyboard, acoustic and electric guitar and ukelele. Again the results were encouraging, with no coloration problems on any of the recordings.

The only thing I am doing acoustically in the room is to cover up the television and a barrister bookcase with blankets since they are highly reflective. I also unplug my wine cooler and turn off the heating and air conditioning while we are recording. As I stated in an earlier post, all of the lighting is LED, so the room doesn’t heat up too much when the A/C is off.

Recording with The Crickets Duo

Recording with The Crickets Duo

We plan on pushing the envelope a bit and seeing what is possible in the room. We have a drum recording session scheduled for the Spring, as well as a session with a choir. Look for a report on this in April or May.

So, when the control room is complete in the next month or so what are the plans for this room? We still use this room for entertaining during the Holidays and occasionally during the winter, so It needs to be easily transformable back into a rec room. And since I still do some video shoots down here it needs to be quickly convertible from a recording studio to a video studio and back.

Right now, this is the biggest problem as this transformation takes at least a couple of hours in each direction. My first effort will focus on cutting this time down. Better storage of lighting equipment will help. Also, I currently set up my paper backdrop on stands which is time-consuming. I’ll be looking into a way of hanging the rolls in the ceiling so the paper can be pulled down when needed and then rolled back up into the ceiling when done.

As far as acoustical treatment, I’d like to add some ATS absorptive panels to the walls as well as some diffusers, similar to what I built for the Control Room. I think stuffing the ceiling with fiberglass insulation above the dropped ceiling might even out the low-frequency response of the room and compensate for the low ceiling.

But, at this point, the room is working for what I need. Once I try recording drums and some larger vocal groups, we’ll have a better indication of what we need to do.

(Continue to Home Studio – Part 8)

Posted in Miking Techniques and Recording, Monitoring and Listening, Studio Construction | Tagged DIY Studio, Home Studio, Studio Construction

Home Studio (Part 6 of 8) – More Testing and Diffusion

StudioMicZone

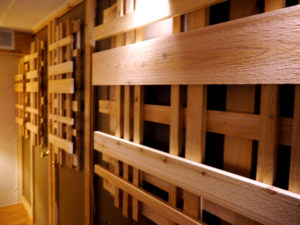
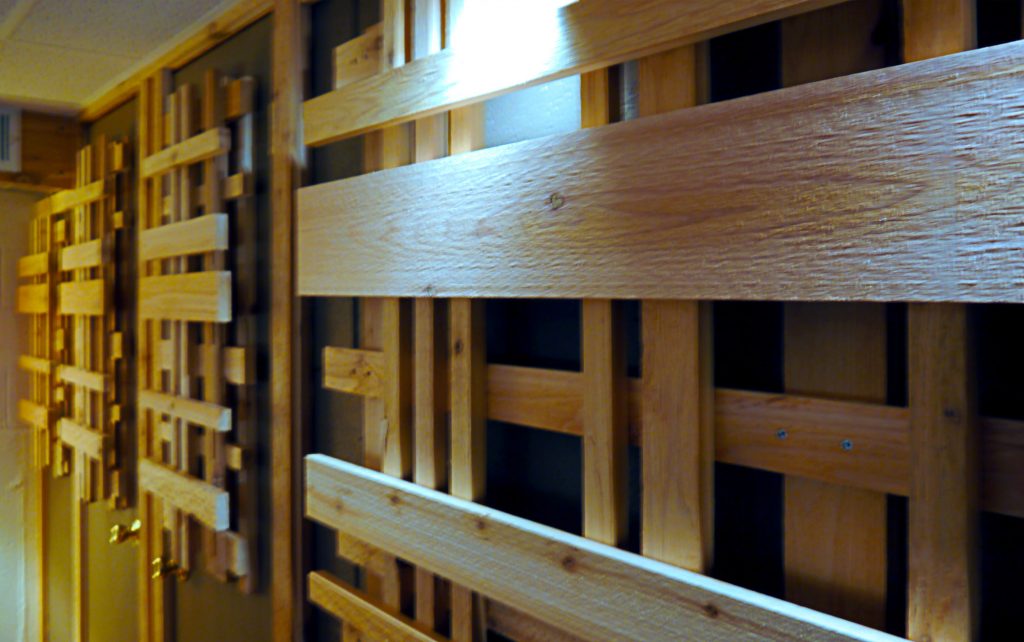
Cedar diffusion structures on the back wall.

Cedar diffusion structures on the back wall.

Frequency response and evenness in the room are pretty good, but the stereo imaging is still not very good.  I had been in a quandary as to what kind of diffusion I should put on the back wall and was not happy with the options I explored. I found some commercially available molded-plastic diffusers that weren’t overly expensive. They could be painted, but I wasn’t thrilled with the look. What I wanted was wood, but the pre-made diffusers were ridiculously expensive, and I wasn’t happy with the ideas I was having for making my own.

One night I was playing around with some leftover pieces of cedar that we had, and it hit me. I would make a four layer construction of cedar strips, so including the wall it was attached to, there would be five reflective layers or different depths to diffuse the sound. I played around with the idea on paper so that each layer would have approximately the same reflective surface area.

Close-up, 4 layer wood diffuser.

Close-up, four layer wood diffuser.

I quickly cut and screwed one together and was amazed how good it looked and how well it fit into the decor of the room. I found that if I built the layers in reverse order, I could put the screws in from the back and they wouldn’t be visible. I bought the wood the next day, and in one evening built the four diffusers, assembled with both glue and screws. I attached them to the back wall and closet doors and then did some listening.

It made a significant difference on the stereo imaging. The room sounded very nice, and the stereo imaging was tight. I was pleased with the result. The room sound was way better than I had hoped it would be.

I hadn’t added any diffusion to the right side wall, and I probably didn’t need much since that wall had the equipment racks, an Ampex tape recorder, and a cabinet with a lamp on top. But since there were a few feet of wall that was reflective, I added some strips of cedar with several different layers of thickness. It might have been more for looks than sound, but it looks great and adds a bit of diffusion on that wall.

I also wrapped the heating duct in sound deadening material and then framed it in acoustical tile and cedar. I put sound deadening material behind the register that feeds air to the room. We had previously moved it from the front to the back of the room to keep the sound of the air as far away from the mixing position as possible.

One other item causing a problem was the pipe from the well. Every time the well turned off, the pipe would bang, it also radiated some noise when the well was running. I wrapped the pipe in sound deadening material and added a couple of pipe hangers to make sure it was well supported. I found that the pipe was banging against another pipe in the furnace room, and by supporting both pipes properly, I solved that problem. Finally, I sealed the space around the water pipe and furnace duct where they went through the wall into the control room with spray foam. That cut down on a lot of noise. If the room is quiet, it is still very audible when the well turns on, but if music is playing, the sound isn’t noticeable.
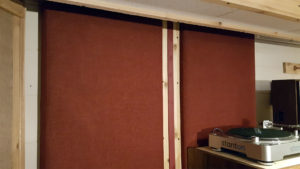
Finally, I installed the last of the equipment in the rack. Nothing critical, but a couple of pieces I use once in a while like a turntable and a cassette player.

(Continue to Home Studio – Part 7)

Posted in Mixing, Monitoring and Listening, Studio Construction | Tagged DIY Studio, Home Studio, Studio Construction

Home Studio (Part 5 of 8) – Initial Testing

StudioMicZone

After a bit more listening, I still felt that the low-end evenness in the room left something to be desired. After thinking about it, I decided that the best way to compensate for the low ceiling was to make it as absorptive as possible. So I filled the space between my ten inch deep joists with fiberglass batts. Now the room was starting to sound decent, although the stereo imaging was still not acceptable. But there was still no diffusion on the side or back walls, so that would be expected.

I really wanted to do a full test including live recording, so Lee Murdock came in and did a brief recording test, and loved the results. Danielle and Bill from Even the Jackals agreed to be guinea pigs for testing the studio. They have a new group that plays acoustic music and go by The Crickets. My initial recording results with them were encouraging.

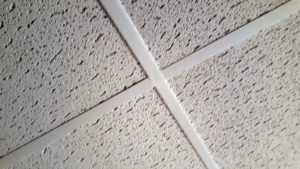
Ceiling tile and grid.

Ceiling tile and grid.

I still wasn’t sure what to do for final ceiling treatment. A dropped ceiling with absorptive tiles would likely be the best acoustical choice, but I couldn’t afford to lose five or six more inches of room height since the ceiling was already so low. I finally found a tile mounting system that has a grid like a dropped ceiling but could be mounted right on the joists with no space. So I bought the grid and ceiling tiles with the best noise rating that I could find, (NRC = .8) and began the installation.

Installation of the panels was a real pain and generated lots of cursing since the plastic rails bent and warped. If I had it to do over again, I would have installed wood furring strips first and then put the rails on those which would have made things a lot easier, but again, hindsight is always 20/20. It took a couple of days, but it looked good at the end, and the sound of the room went up a notch as well as the look.

I also needed to add some absorption to the front of the right side wall next to the right speaker. I probably could have built something, but with many things yet to be completed, I decided to purchase a couple of 2-foot by 4-foot panel diffusers from a company called ATS Acoustics.

ATS Acoustics sound absorbing panels installed on the right side wall.

ATS Acoustics sound absorbing panels installed on the right side wall.

This company has its act together. About 2:00 in the afternoon I placed an order online for two panels with a custom color. I paid a few bucks extra for expedited delivery and expedited it was. The panels were on my front doorstep by noon the next day! That’s less than 24-hour delivery! And for a custom color. The panels came with a full-size paper template with printed instructions on the template for mounting the z-clips on the panel and the wall. I used the template to drill the wall and the panel, attached the z-clips, and the panels hung perfectly on the first attempt. Wow, one more item to scratch off the list.

These panels are opposite the control room door, which should also be absorptive, but can’t be because it is mostly glass. If the door is closed, the stereo image moves slightly to the left because of the reflective door, but an open door is like total absorption, so I leave the door open for mixing, and my imaging is fine. A slightly skewed stereo image is not a factor when tracking with the door closed.

Now, I needed to finish a lot of cosmetic and practical items. I installed trim strips on the front wall to cover the staples and seams in the burlap. Lee came in and installed the oak rail on top of the half wall, and we installed trim strips to cover the staples and seams on that wall.

I built a cover to hide cables going from the ceiling to the rack on the right side wall. I also made cable hangers on the left side wall and installed a cabinet that we moved from the other studio below it to hold microphones. These items will provide diffusion on that wall.

There were a variety of other trim items done at his point including staining and varnishing the control room door. The next major item will be to decide on and install some diffusion on the back wall to break up reflections and improve the stereo imaging in the room.

(Continue to Home Studio – Part 6)

Posted in Mixing, Monitoring and Listening, Studio Construction | Tagged DIY Studio, Home Studio, Studio Construction

Post navigation

← Older posts

Visit us on:

Search

Categories

  • Audio For Video
  • Audio Fundamentals
  • Choosing & Buying Microphones
  • Classic & Antique Microphones
  • Hints and Tips
  • Microphone Accessories
  • Microphone Fundamentals
  • Microphone Modifications
  • Microphone Reviews
  • Microphone Teardown & Repair
  • Miking Techniques and Recording
  • Mixing
  • Monitoring and Listening
  • Other
  • Podcasting
  • Software
  • Studio Construction

Archives

  • March 2020
  • February 2020
  • January 2020
  • December 2019
  • November 2019
  • October 2019
  • September 2019
  • August 2019
  • July 2019
  • June 2019
  • May 2019
  • April 2019
  • March 2019
  • February 2019
  • January 2019
  • December 2018
  • October 2018
  • August 2018
  • June 2018
  • April 2018
  • February 2018
  • December 2017
  • November 2017
  • September 2017
  • January 2017
  • December 2016
  • November 2016
  • October 2016
  • August 2016
  • July 2016
  • June 2016
  • May 2016
  • February 2016
  • January 2016
  • December 2015
  • November 2015
  • October 2015
  • September 2015
  • August 2015
  • July 2015
  • June 2015
  • May 2015
Copyright © 2025 by Norwest Communications Inc. All Rights Reserved. - Weaver Xtreme Theme
↑