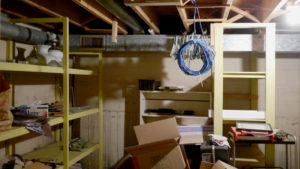
Cleaning out the storage room in process. Network and phone cables already installed.
The first and possibly the most difficult task was to empty out the storage room that had been accumulating junk for over 35 years. A good portion went into the trash, I donated some items, and the items that I decided to keep went into the garage or other parts of the basement. Finding a permanent place for things such as the Christmas Tree and decorations was going to be a real challenge. Then we disassembled the shelves and saved some of the wood for use in reconstruction.
My son Jeff had already run CAT5E cables for network and phone that connected to a new switch at the other end of the basement. I had new high-speed Internet service installed earlier, and the network was up and running, and the new phone service was working. That cable installation was actually the first step of this project.
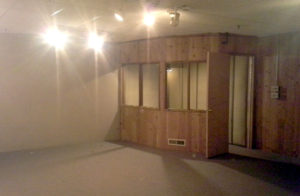
Front wall of the new Control Room. Water pipe and electrical conduit going to the well are on the right.
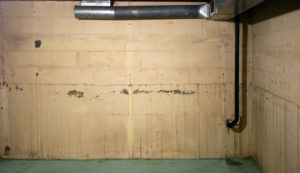
After about a week of hard work, the room was finally cleared out. After a good cleaning, the first task was to repair some cracks and apply waterproof paint to the walls. This room sometimes gets a bit of seepage during unusually heavy rainstorms, so I wanted to take care of that before anything else. I chiseled out the cracks and re-mortared them and then applied to coats of waterproofing paint to the walls.
The next item on the agenda was the electrical work. There was only one outlet in the room and a single bare bulb, which was hardly adequate. The existing wiring was in conduit as required by code in Cook County, Illinois, so adding circuits and doing modifications is easier than with Romex. I added two more ceiling boxes for additional track lighting along with a dimmer for each box so that I could control the brightness as needed. I added a total of six outlets, with one inside the front wall in case we want to add a video monitor in front of the console at some point in the future. I also added a kill switch that would turn all of the outlets off except the one going to the computer.
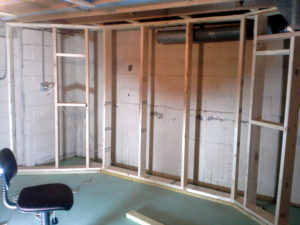
Framing of the front wall.
The next task was framing the front wall which would hold the JBL speakers. The space behind this wall was to be filled with fiberglass and then covered with burlap to absorb sound and make the front of the room dead. We left the concrete block sidewalls alone and would add the necessary sound treatment later. Then we built frames for the doors in front of the alcove at the back of the room that would be a storage closet.
We found a nice solid door with lots of windows and built a new frame and installed it to replace the original hollow core door. Installation of the door turned out to be a two-day job as the concrete block walls were not plumb and getting the door to fit properly was a problem. But it was worth the effort, as the door adds aesthetically to the look of the space and allows a limited view of the recording area.
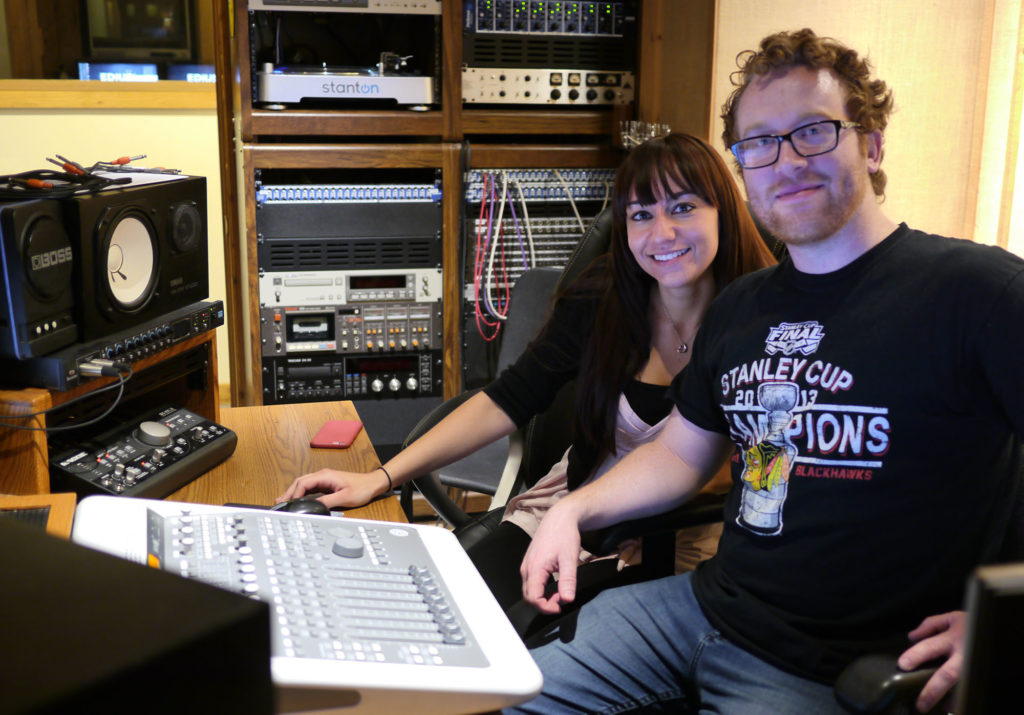
The desk and the half wall surrounding it were next. We had removed that wall in sections from the old studio, and the sections were fortunately screwed together instead of nailed. The part of the desk that sits to the engineer’s right was too wide for this room, so we ripped about 8 inches off of it.
Floor Installation
We also made the proper modification to the half-wall that surrounds the desk. We then screwed the half-wall together and fixed it to the concrete floor with Tapcon screws. I then installed the two outlets for the equipment in the half-wall.
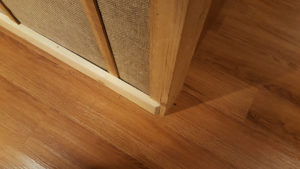
Since this room had gotten some seepage in the past, I wanted a waterproof floor, so I installed a vinyl simulated oak plank floor in the whole room. The floor isn’t glued down, but the planks lock together, and the floor can expand and contract with the changes in temperature. Since the planks are removable, it will be possible to replace any that get damaged. With this flooring down, the look of the room was transformed, and I began to believe we were creating a unique and comfortable space.
Half-wall that surrounds the desk and console.
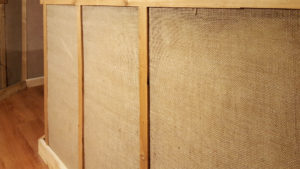
Now that we had installed the flooring, we put the desks back in place and attached them to the half-wall. We replaced the insulation in the back side of the half-wall, and I stapled a new layer of burlap over the studs, leaving the back of the wall acoustically absorbent. Since most of this wall faces the speakers, the fiberglass prevents any bounce-back of the sound into the room.
This completed the structural work on the room. The closet doors still need to be installed and appropriate sound treatment to the walls, but now we can install some equipment and start working on th sound of the room.
(Continue to Home Studio – Part 4)