Microphone kits are readily available these days, at least for condenser and ribbon microphones, but that certainly wasn’t the case in the early 1960s. I was what today we would call a geek in my younger years, so when I saw the ad for the American Basic Science Club kits in the back of an electronics magazine, I talked my parents into subscribing me to the set of 8 monthly kits for my tenth birthday.
James S. Kerr created the American Basic Science Club in 1957 and operated the company into the early 1980s. The kits were elegantly designed so that you could reuse many of the items for different experiments and it certainly was a wonderful introduction to science and technology with a lot of emphasis on learning the basic principles of electronics, optics, and many other areas. The ad below shows all of the different experiments that one could do and the kits evolved and expanded over their lifetime with the addition of an analog computer later on.
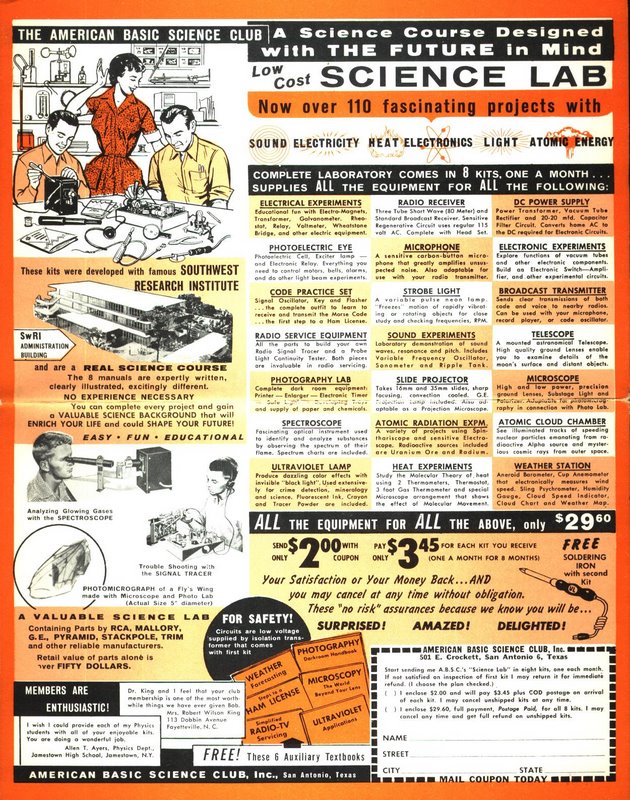
American Basic Science Club Ad from the early 1960’s.
These kits contained a lot of electronics projects with vacuum tube circuitry. Mine used three octal tubes, but later kits used miniature tubes. The company never made the transition to solid state circuitry.
One of the projects was an AM radio transmitter, and that project required a microphone, so included in the kit were parts to build a carbon microphone from scratch. I built it, it worked, and so began my saga with microphones and audio. I don’t have any of the pieces of the original kits except maybe for the tuning capacitor.
A few years ago, the nostalgia bug bit and I started buying some of the American Basic Science Club kits on eBay as they showed up for sale, fortunately before the prices shot up. I managed to acquire most of the whole set at that time. I keep some of the pieces on display, but most of the kits are still in their original boxes.
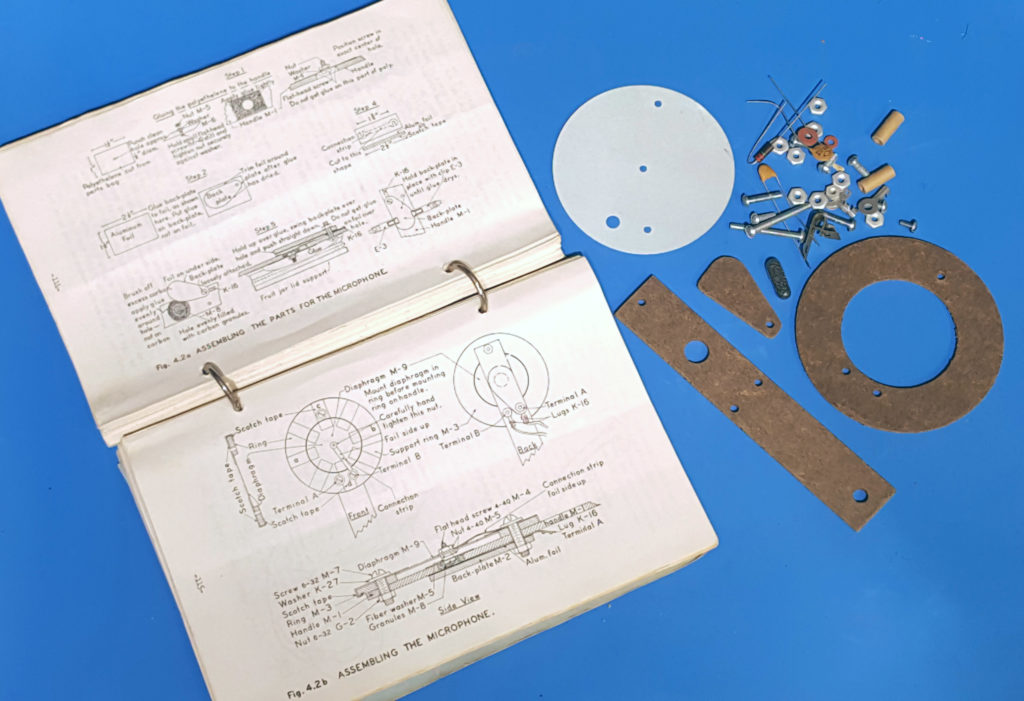
Parts and instructions for the 1960’s carbon microphone kit.
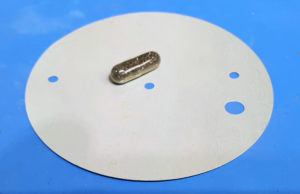
Metal diaphragm and capsule of carbon granules.
I thought it might be fun to construct that microphone again, so I started rummaging through the boxes and managed to find all the pieces to assemble the same mike that I had built 55 years earlier. The instructions were very basic, and it was certainly a little bit of a challenge. I wondered how I was able to accomplish it when I was only ten years old, but I probably had a bit of help from my dad who could build just about anything.
A carbon microphone works as a variable resistor. Carbon grains are loosely held in a small chamber between two metal contacts. One of the contacts is attached to the diaphragm of the microphone, and the vibrations of the diaphragm from sound move the carbon granules and vary the resistance at the vibrational rate. A small DC bias current is passed through the microphone, and thus a varying voltage is generated. If you hook a carbon microphone, a headphone and a battery in series, you’ve built a simple telephone.
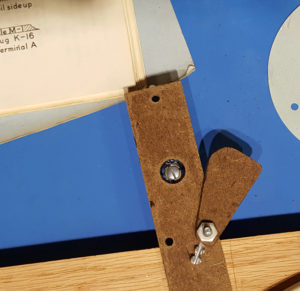
Cavity that holds the carbon granules, ready to be filled.
The body of this microphone was stamped out of masonite. The hole in the handle was the chamber that held the carbon particles. A tinfoil layer covered the bottom of the hole and contacted the carbon granules. A screw head attached to the diaphragm made contact with the other end of the granules.
There were few instructions, and I needed to rely on the drawing for most of the assembly. The screw head from the diaphragm passed through a little square of plastic bag that was glued across the top of that cavity to keep the carbon granules from leaking out. The type of glue wasn’t specified, and I kept choosing the wrong kind and softening the piece of plastic bag and having the carbon grains leak out. I finally used a piece of double-stick tape to attach the plastic bag, and ended up with a non-leaking microphone.
I applied a 9V bias to the microphone through a resistor and coupled the signal from the microphone to the line input of an amplifier through a capacitor.
And just like the first one, I had a working microphone. Not exactly hi-fi, not even telephone quality, but able to reproduce understandable speech. I still find it amazing that you can build a working microphone with the simplest of parts and basic hand tools.
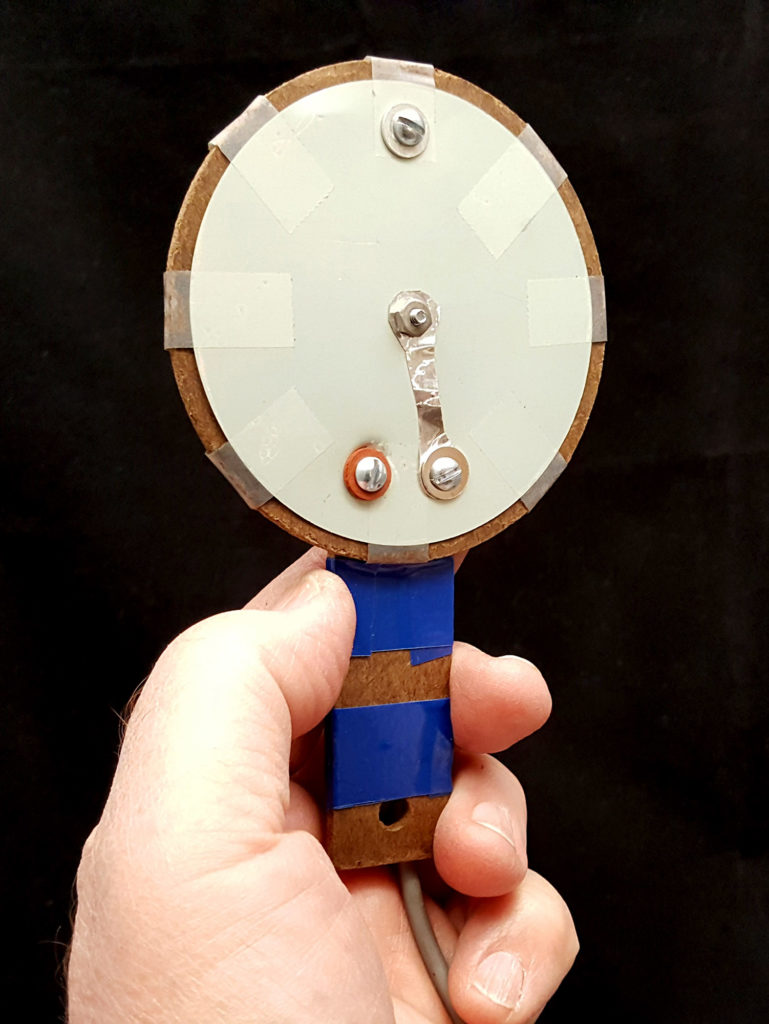
The completed, working, carbon microphone kit.
