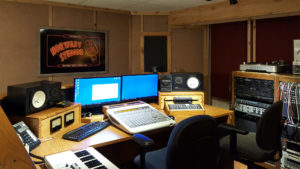
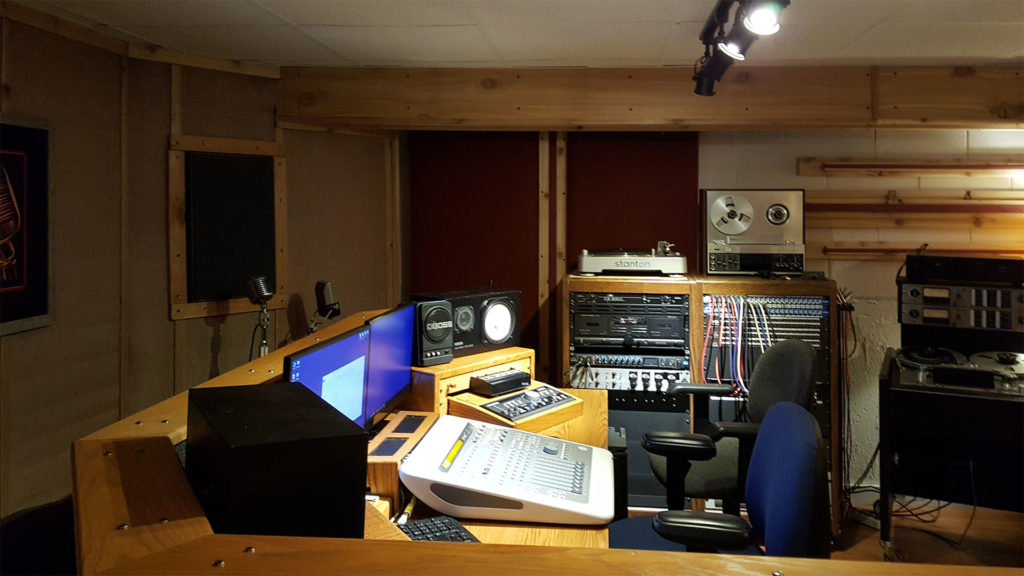
Control Room Front View
It’s time to finish up a few leftover tasks in the room and upgrade the equipment and software to the latest.
The computer we were running for audio was an old Windows XP machine, and I was running ProTools 7.5. I wanted to upgrade to Windows 10, and the ProTools 11. This old machine just wouldn’t cut it anymore, so I built a new machine that was almost identical to my video editing machine. It has an Intel i7 Haswell 6-core processor, 16 Gigabytes of RAM and an SSD drive for the C drive. The computer is built into an NZXT cabinet, which is acoustically insulated and about as quiet as possible. I installed four, 4-Terabyte hard drives for storage and backup.
I installed Windows 8, and then 10 when it became available shortly after that, and subscribed to ProTools so that we always have the latest version. The upgrade went smoothly, ProTools integrated easily with the Digi 003 and rarely crashes anymore.
I spend a lot of time listening to different material, both my own recordings and commercial recordings that have a reputation for being well-recorded. The JBL speakers have adjustments for the midrange speaker and the tweeter, over the past few weeks I have adjusted those for the most balanced sound. I was still noticing an occasional brittleness in some of the sound and wound up replacing the tweeter in one of the speakers. I had replaced the one in the other speaker a few years back. I think I am now satisfied that the speakers and everything in the sound chain are working correctly. We’ll discuss this listening process in detail in a future post.
I built a set of shelves under the diffuser at the back of the room to hold microphones and other odds and ends. Our old microphone collection is displayed on the top of it.
There was a final bit of decorating to do; I added the Norwest sign to the back diffuser, added some dark red accent strips to all of the diffusers, matching the color of the ATS panels. I also built a cable cover that covered the wires coming to the rack between the two ATS absorption panels. I added a couple of VU meters, mostly for looks, to the panel to the left of the Digi 003 and build an oak frame to hold the Mackie BigKnob. There was probably a bunch of other trim items and painting done at this point.
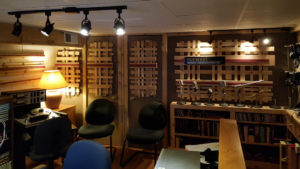
Control room, rear view.
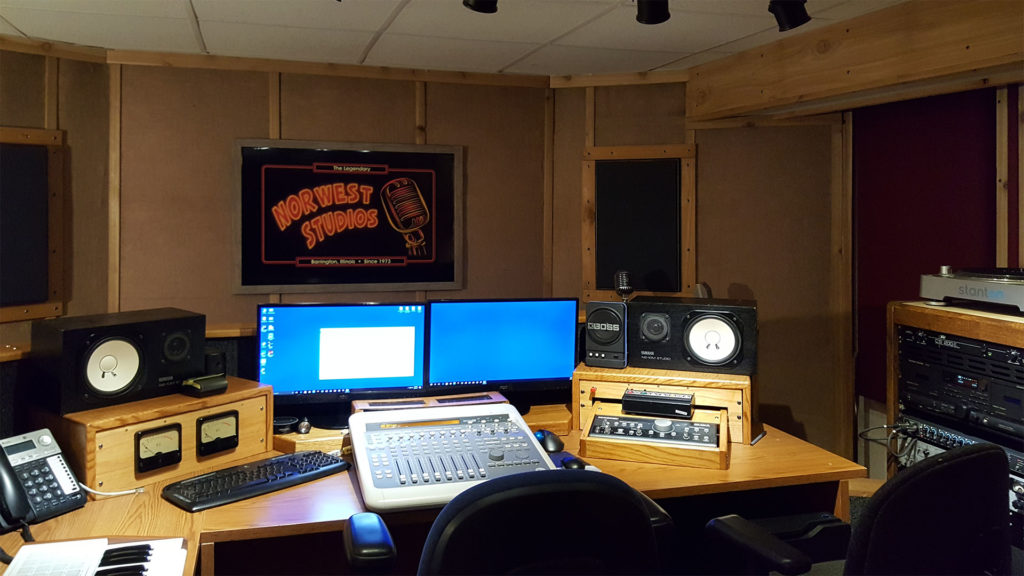
Finally, without a window, the front wall looked a bit empty, so I designed a Norwest Studios sign for the front wall and had it printed by Office Max and then glued to foam core. I was worried that it might affect the sound, but it didn’t since the foam core is quite dead and absorptive.
I am extremely pleased with the sound of the room. The stereo imaging and sound are good no matter where you sit. This room is considerably better that the control room at my old studio. It’s also a lot more comfortable.
A home studio is probably not a good fit if you are working with whoever comes in off the street. But, if you are doing your own recordings, or working with a select list of clients that you have known for a while, this is a very comfortable situation both for you and the people you are recording. Also, a relaxed, comfortable environment encourages a good performance and creativity and produces a better end product.
It’s been a long road, and the project took longer than I had planned, but it has certainly been worth the effort. I am ecstatic with the results that we achieved and don’t miss my old space in the least bit.
Before and After Pictures
Front Wall
Before – Front Wall
After – Front Wall
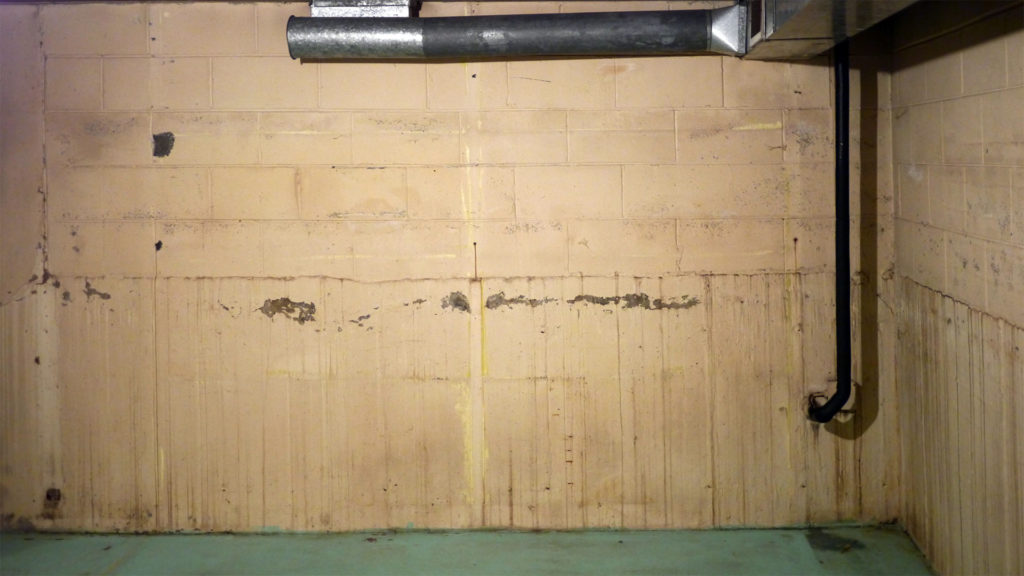
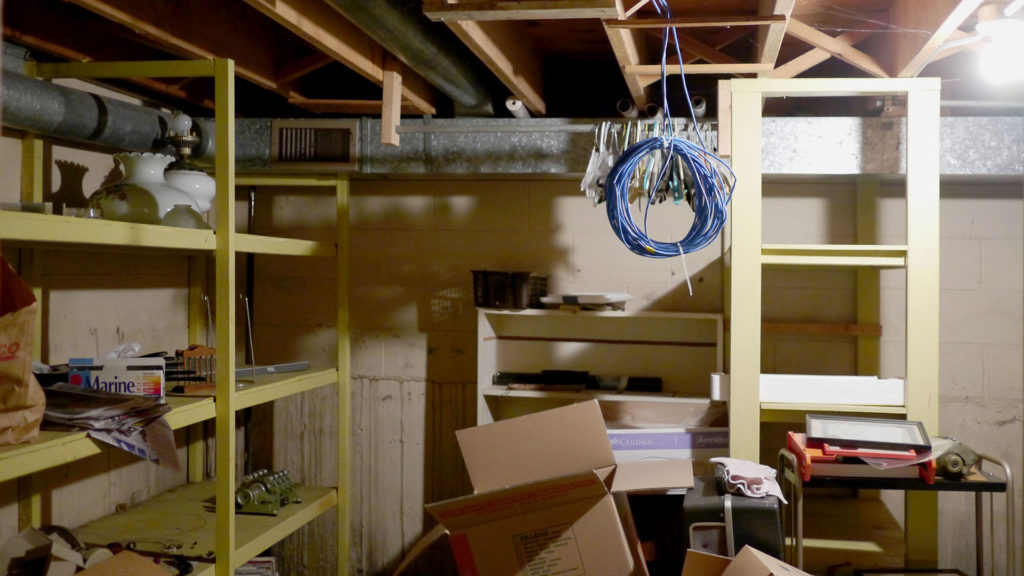
Back Wall and Closet
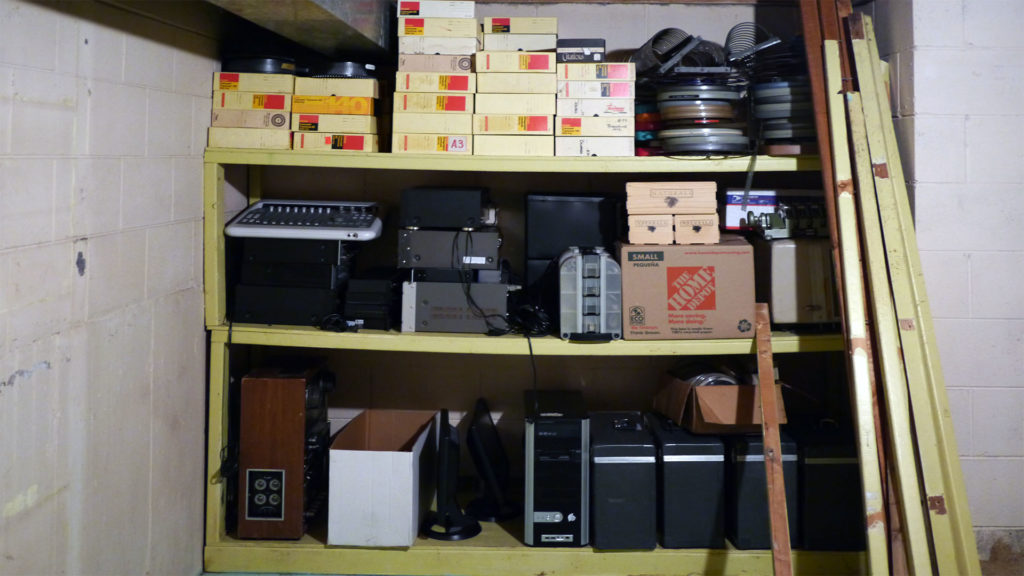
Before – Back Wall & Closet

After – Back Wall & Closet
Side View
Before – Side View
After – Side View